How to Set Up Recurring Social Media Posts: A Step-by-Step Guide for Busy Creators
Learn how to set up recurring social media posts with a step-by-step guide for solo creators — from picking your content categories to configuring your first topic stream.
Creating new social media content from scratch every single day is one of the most common burnout triggers for independent creators. The math simply doesn’t work in your favor: you need fresh content for multiple platforms, multiple times a week, indefinitely. Even with the best intentions, that pace leads to either creative exhaustion or a feed that goes silent for days at a time.
Here’s the part most creators don’t realize: a substantial portion of your best content has already been written. Posts you published three, six, or twelve months ago were seen by a fraction of your current audience. New followers have never encountered them. Even loyal followers have likely forgotten the details. That library of existing content is an underused asset — and setting up recurring social media posts is the mechanism that puts it back to work.
This guide walks through the full setup process, from identifying which posts are worth recycling to configuring the repeat intervals and streams that keep your feed moving automatically.
What Does “Recurring” Actually Mean for Social Media Posts?
A recurring social media post is one that publishes more than once, with a defined gap between appearances. That gap is the key variable. Publish too quickly and followers notice the repeat, which erodes trust. Wait long enough — typically two weeks or more — and the post feels new to the majority of your audience, because organic reach on most platforms means even active followers miss a significant share of what you post.
Most creators who start using recurring social media posts are surprised to discover how little their audience notices the recurrence — and how much consistent posting improves reach and follower growth in the process.
Recurring is not the same as duplicate. Duplicate content is publishing the exact same post back-to-back or within days of the original. Recurring content is evergreen content on a well-spaced rotation, treated as a living library rather than a one-time broadcast.
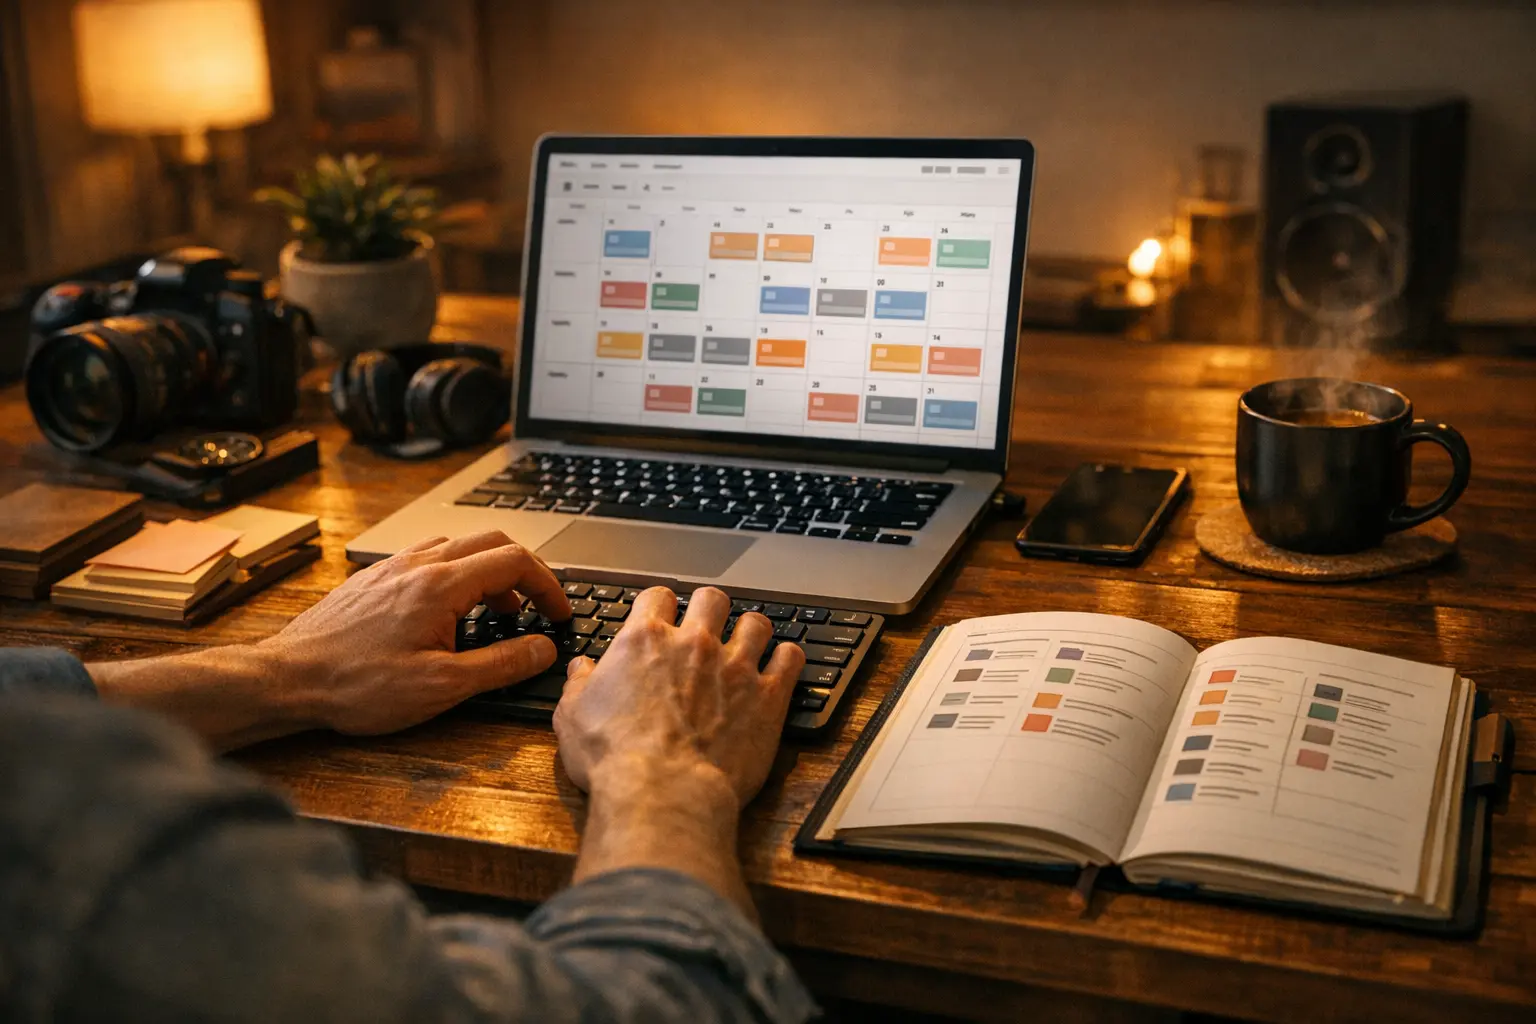
This concept connects directly to the idea of a content queue. What Is a Social Media Content Queue covers the mechanics of queues in depth, but the short version is this: instead of scheduling individual posts to specific dates, you add content to a pool, define the publishing cadence, and let the tool pull from that pool in sequence. When the pool runs out, it loops back to the beginning — that loop is what creates the recurring behavior. The result is a feed that stays consistent without requiring a daily scheduling decision.
Step 1: Identify Your Recurring Content
Not every post is a good candidate for recurrence. The filter is straightforward: if a post has an expiry date, it doesn’t belong in a recurring queue.
Start with a quick audit. Pull up your last three months of published posts across all platforms. Go through them and ask one question about each: would this post make sense to a new follower seeing it for the first time today, with no context about when it was originally published?
Posts that pass that test are your recurring candidates. Posts that reference a specific event, date, trending topic, promotion, or real-time development should be excluded — they’ll feel out of place or misleading when they resurface.
Content types that tend to recur well:
- Practical tips: “Three ways to write a better caption” doesn’t get less useful over time.
- Tutorials and how-to posts: Step-by-step guidance on skills your audience is building.
- Engagement questions: “What’s one tool you can’t work without?” generates fresh responses every time.
- Resource recommendations: Links to tools, articles, or references your audience finds valuable.
- Evergreen stories: Behind-the-scenes context about your work or process that isn’t tied to a specific moment.
- Product education: Explaining what you do, how your product or service works, or what problems you solve.
- Brand values posts: What you stand for, who you serve, why you do the work.
- Social proof frameworks: Not specific testimonials (those age), but the patterns or themes behind positive outcomes.
Build a list of candidates from your audit. This is the raw material for your recurring post library.
Step 2: Group Your Content into Categories
Dumping all recurring posts into a single queue is the fastest way to create a monotonous feed. If every post is a tip, your profile becomes a tip account. If resource links and engagement questions appear in unpredictable order alongside everything else, the feed loses its coherence.
The solution is to separate your recurring content into distinct categories, each with its own stream and its own posting schedule. A simple starting structure might look like:
- Tips & Tutorials: practical, instructional posts
- Links & Resources: curated recommendations and references
- Engagement: questions, polls, conversation starters
- Brand & Values: what you do, who you serve, why it matters
Each of these becomes its own content stream. When they run in parallel, your feed naturally alternates between different content types without any manual effort. The mix is built into the structure.
The Complete Guide to Evergreen Content Scheduling covers the broader strategy behind organizing evergreen content this way — it’s worth reading alongside this guide if you’re thinking about the full system, not just the mechanics.
The key principle: variety comes from architecture, not from trying to manually diversify what you post each day. Build the categories correctly upfront and the variety takes care of itself.
Step 3: Set a Posting Schedule Per Category
Once categories are defined, assign each one a posting schedule. The important distinction here is that the schedule is per category, not per post. You’re deciding how often a category publishes — not micromanaging individual posts.
Some practical starting points:
- Tips & Tutorials: every weekday morning — high value, high frequency, audiences expect this kind of content regularly
- Links & Resources: two or three times per week — enough to be useful, not so much that it feels like a link dump
- Engagement: once per week — these posts invite responses, and spacing them gives each one room to breathe
- Brand & Values: once or twice per week — context-setting content that works best when it doesn’t crowd out everything else
Platform assignment is also part of this step. Not every content type belongs on every platform. Tips and professional insights tend to perform well on LinkedIn and Twitter/X. Visual-forward content fits Instagram and Threads. You can assign each stream to one platform or multiple — some categories will genuinely work across all of them.
Resist the temptation to over-schedule at the start. A sustainable setup for recurring social media posts — two to three posts per day per platform — is far more durable than an aggressive schedule that you’ll need to cut back after a month.
Step 4: Configure Your Repeat Interval
The repeat interval is the minimum number of days that must pass before a post cycles back around in the queue. It’s the single most important setting for recurring social media posts, because it determines whether the recurrence feels natural or repetitive.
Practical guidance by audience type:
- 14 days is the safe default for most creators. It gives enough spacing that even engaged followers are unlikely to notice the repeat, and it means a library of 28 posts gives you a four-week cycle before anything repeats.
- 30 days is better if your audience includes daily-active super-followers or if your content is particularly distinctive and memorable. High-frequency creators who post multiple times per day may also want the longer window.
- 7 days is the minimum floor, and only appropriate when your queue is large enough that the same post won’t appear twice within a week. A 7-day interval with a library of 7 posts means every post repeats weekly — that’s too short for almost any audience.
The interval is set at the stream level, not the post level. One setting governs the entire category. BrandGhost lets you configure this directly on each topic stream, so each category can have a different interval based on its content type and posting frequency.
Step 5: Build Your Initial Content Library
A recurring system is only as good as the library behind it. Before turning any stream on, aim for a minimum of 15 to 20 posts per category. This gives you enough runway that the rotation doesn’t feel thin in the first few weeks, and it ensures that the repeat interval has enough content to cycle through without looping back too quickly.
Three sources to draw from:
Existing posts you’ve already published. This is the fastest source. Go back through the candidates from your Step 1 audit and copy them into the appropriate streams. These posts have already been written — the work is just organizing and re-entering them.
New posts written in batch sessions. Block out 30 to 45 minutes once a week and write 5 to 10 posts in a single sitting. Writing in batches is significantly more efficient than writing one post per day: your brain stays in one mode, you build momentum, and you stop making daily “what do I post today?” decisions. Many creators find that a single weekend batch session produces enough content for two to three weeks of posting across multiple categories.
Repurposed long-form content. Blog posts, podcast episodes, video scripts, and newsletters are dense with extractable social content. A single long-form blog post can contain multiple distinct insights, each of which can become a standalone social post. Run through your existing long-form archive and extract. This is one of the highest-leverage content production methods available to solo creators — the thinking has already been done; the work is just reformatting.
Once a stream has 15 to 20 posts, it’s ready to go live. You don’t need to fill it to perfection before starting — the goal is a sustainable baseline, not a complete archive on day one. Adding 5 to 10 new posts per week during your batch sessions will keep the library growing while the stream is already running.
Step 6: Go Live and Monitor
With streams configured and libraries populated, the next step is simply turning them on. The first 30 days are an observation window, not a set-and-forget phase.
Watch for these signals:
Timing fit. Are posts going out when your audience is actually active? Most scheduling tools provide engagement time data, and your platform analytics will show when your followers are online. If your Tips stream is posting at 7am but your audience peaks at noon, adjust the posting slots.
Frequency feel. If a stream is posting too frequently and the feed is starting to feel like one note, reduce the number of weekly slots for that category. Conversely, if engagement on a particular category is strong, you might increase its frequency.
Repeat visibility. Keep an eye on whether any posts are generating comments like “I’ve seen this before” or whether engagement on recycled posts drops notably below initial publication levels. Either signal suggests the repeat interval needs to be extended.
Queue depth. If a stream runs thin — meaning the same 5 posts are cycling through every two weeks — that’s a signal to add more content. This is the main ongoing maintenance task.
A recurring post system is iterative by design. Set it up, run it, and refine based on what the data shows. The initial configuration is a starting hypothesis, not a final answer.
How BrandGhost Makes Recurring Posts Effortless
The steps above describe a system that works with any tool that supports content queues. BrandGhost is built specifically around this workflow, with topic streams as the core feature for managing recurring social media posts at scale.
Here’s how the setup maps directly to BrandGhost:
Create a named stream for each category. In BrandGhost, a topic stream is a named queue with its own settings. Create one for Tips, one for Links, one for Engagement, and so on. The naming is just for your own organization — streams are independent of each other and run on separate schedules.
Assign platforms to the stream. Each stream can target one platform or multiple simultaneously. A Tips stream might post to LinkedIn and Twitter/X at the same time. A visual content stream might target Instagram and Threads. The platform assignment is set once at the stream level.
Set posting slots. For each stream, define which days of the week and what times posts should go out. BrandGhost uses these slots to pull from the queue and schedule automatically — no manual scheduling required.
Set the minimum-days-before-repeat. This is the repeat interval from Step 4, configured directly on the stream. Set it once and BrandGhost enforces it automatically across every post in that stream.
Add posts to the stream in bulk. Paste in content, assign it to the stream, and save. BrandGhost handles all sequencing, rotation, and recycling. When you add new posts, they enter the queue and get distributed into the rotation automatically.
Once streams are live, the only ongoing task is adding new content during your weekly batch sessions. All scheduling decisions, rotation logic, and repeat enforcement happen automatically in the background.
For more context on how topic streams work as a concept and why they’re structured this way, What Are Topic Streams and Why Are They Invaluable for Content Creators? is a useful companion read.
Start Your First Stream Today
Setting up recurring social media posts is one of the highest-leverage moves a solo creator can make. The upfront work — auditing existing content, organizing it into categories, writing an initial library — pays dividends every week without additional effort. Your best content gets multiple chances to reach the audience it deserves, and the daily decision of “what do I post today?” largely disappears.
BrandGhost is built to make this workflow as straightforward as possible. Create your first topic stream, add 15 posts, set your schedule and repeat interval, and let it run. Try it at https://www.brandghost.ai.
Frequently Asked Questions
What are recurring social media posts?
Recurring social media posts are pieces of content that are published more than once over time, typically on a rotating schedule with a defined gap between appearances. Instead of writing a brand-new post every day, you build a library of evergreen content and let it cycle automatically. This approach keeps your feed active without requiring constant manual effort.
How do I make a social media post repeat automatically?
The most reliable way is to use a scheduling tool that supports content queues or topic streams, such as BrandGhost. You add your posts to a stream, set the posting schedule and a minimum-days-before-repeat interval, and the tool handles all rotation and republishing automatically. Manual methods — like copying posts into a spreadsheet and rescheduling them by hand — work in theory but become unmanageable at any meaningful scale.
How often should I let posts recur?
A 14-day minimum interval works well for most creators as a starting point. If your audience is highly engaged and follows you daily, stretch that to 30 days. For smaller, less active audiences, 7 days can be acceptable as a floor. The goal is to give enough time that the majority of your followers won't remember seeing the post before, which preserves the feeling of fresh content.
Which types of content should be made recurring?
Content with no expiry date is the best candidate: practical tips, how-to guides, resource recommendations, audience engagement questions, brand values statements, and product education posts. Anything tied to a specific date, news event, trending topic, or time-sensitive promotion should not be set to recur, because it will feel stale or confusing when it reappears weeks later.
Can recurring posts hurt my engagement if followers see them twice?
With the right repeat interval, most followers will not notice they have seen a post before — organic reach on most platforms means even your most engaged followers miss a significant portion of what you publish. The risk increases when the interval is too short or when your audience is very small and highly active. Monitor your engagement metrics in the first 30 days after going live with recurring posts and adjust the interval if you notice any drop-off.